
 العربية
  Deutsch
  Español
  Français
  हिन्दी
  Italiano
  日本語
日本語  Melayu
  Polski
  Português
  Română
  Русский
  اُردو
اُردو  中文
中文 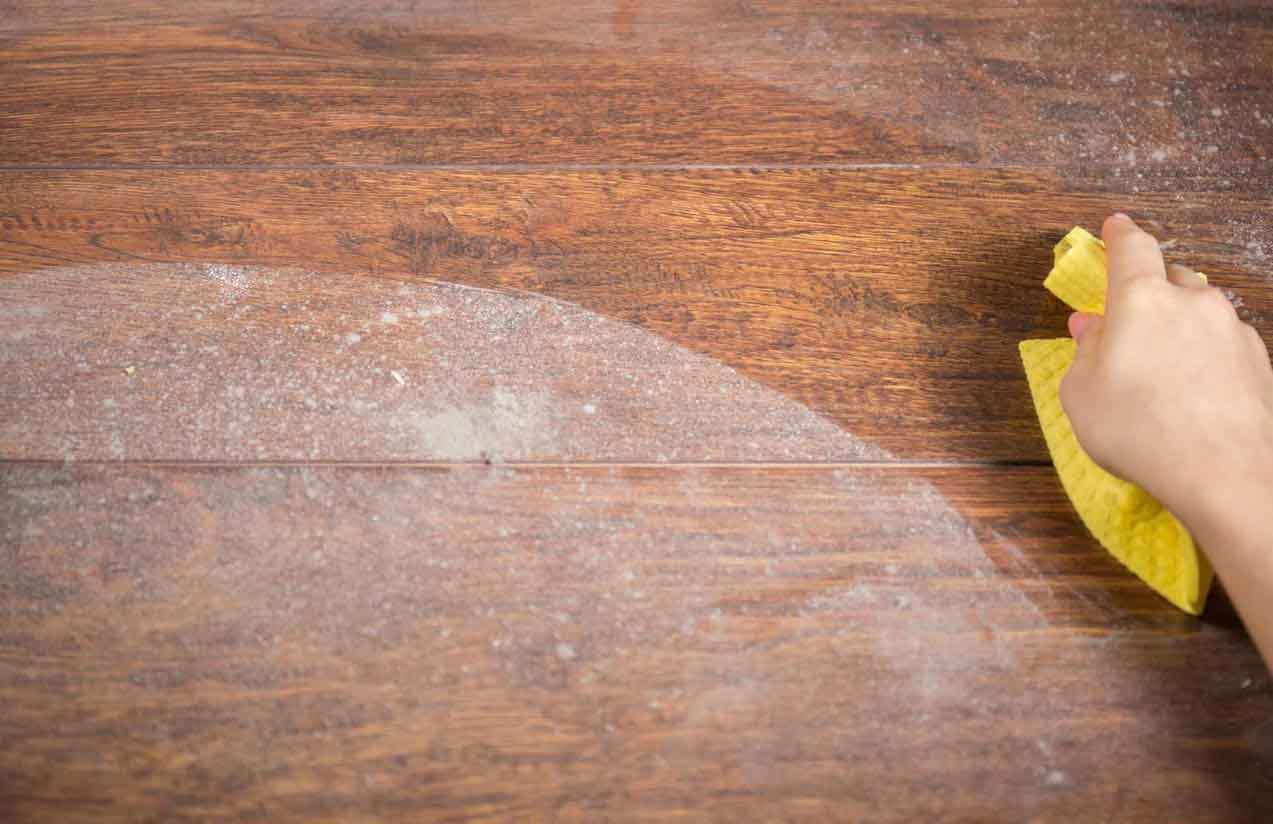
The Correct Way to Dust: A Guide from a Seasoned Cleaning Specialist
Dust. It’s one of the most persistent nuisances in any home or workplace. No matter how often you clean, it always seems to return—settling on your bookshelves, coating your electronics, and clinging to forgotten corners like an unwelcome guest who never gets the hint.
Having spent over four decades in residential and commercial cleaning, I’ve seen firsthand the frustration people experience with dust. But here’s the good news: with the right knowledge, tools, and technique, you can dust more effectively, safely, and with longer-lasting results. Whether you're a homeowner, office manager, or simply someone tired of battling a fine gray film over everything, this guide will walk you through the correct way to dust.
Understanding Dust: What Is It, Really?
Before we dive into techniques, it’s important to understand what you’re dealing with. Dust isn’t just dirt. It’s a complex mixture of dead skin cells, pollen, hair, textile fibers, pet dander, soil particles, and in many cases, microscopic insect waste. In urban settings, it may even include heavy metals and pollution residues.
Why does this matter? Because dust isn’t just unsightly—it can be harmful. It aggravates allergies, worsens asthma, and carries pathogens. Knowing how to dust correctly isn’t just about cleanliness—it’s about creating a healthier environment.
Common Mistakes People Make When Dusting
Most people think dusting is as simple as swiping a cloth over a surface. Unfortunately, that mindset often leads to these common mistakes:
- Dry dusting with the wrong cloth: This simply moves dust around rather than capturing it.
- Dusting from the bottom up: This causes you to redo work as dust falls from higher surfaces.
- Ignoring hard-to-reach areas: Skipping these allows dust to accumulate and spread.
- Using furniture polish as a cleaner: Many polishes leave residues that attract more dust.
- Dusting infrequently: Letting dust build up makes it harder to remove and more hazardous.
Let's move into how to do it right.
 Step-by-Step: The Correct Way to Dust
1. Assemble the Right Tools
Professional dusting starts with using the correct equipment. Here’s what I always recommend:
- Microfiber cloths: These trap dust instead of spreading it. Invest in high-quality, washable ones.
- Electrostatic dusters: Great for delicate or awkward surfaces like blinds or electronics.
- Vacuum cleaner with HEPA filter and attachments: Ideal for baseboards, upholstery, and vents.
- Step ladder or extendable duster: For reaching high shelves, ceiling fans, and light fixtures.
- Mild all-purpose cleaner or water spray bottle: Damp dusting helps prevent dust from going airborne.
Pro tip: Always have a few microfiber cloths on hand and rotate them as you clean. Once one becomes saturated with dust, it’s less effective.
2. Start High, Work Low
This is one of the cardinal rules of dusting. Begin at the top of a room—ceiling corners, crown molding, light fixtures, and the tops of cabinets. Dust naturally falls downward, so working from top to bottom ensures you're not re-contaminating areas you've already cleaned.
Use your extendable duster for ceiling fans and high corners. When possible, vacuum vent covers and use a microfiber cloth for fan blades (wrap the cloth around the blade and pull from center outward).
3. Dust Horizontal Surfaces Thoroughly
Horizontal surfaces are dust magnets. Don’t just swipe the visible surface—move items and dust underneath. Pay attention to:
- Shelves and bookcases
- Window sills
- Television stands and media consoles
- Desks and countertops
Lightly dampen a microfiber cloth with water or a gentle cleaning solution, especially if you’re dealing with layered dust. Always spray onto the cloth, not directly onto surfaces—especially electronics or wood.
Safety note: Never use a wet cloth on electrical outlets or plug points. For electronics, use dry microfiber cloths or specialty anti-static wipes.
4. Take Special Care With Electronics
Dust can clog ventilation in electronics and reduce their lifespan. Power down devices and unplug them if possible before dusting.
Use a dry microfiber cloth or a specialized electronics duster. For keyboards, compressed air works well. Make sure to dust behind and under electronic items too, where dust and static often build up.
5. Address Vertical Surfaces and Details
Many people skip vertical surfaces, but these often collect just as much dust. This includes:
- Picture frames
- Cabinet sides
- Chair and table legs
- Door frames and trim
Use a damp microfiber cloth, and for intricate or carved areas, a small soft-bristled brush or even an old (clean) makeup brush can work wonders.
6. Don’t Forget the Upholstery and Fabrics
Soft surfaces trap a surprising amount of dust. Upholstered furniture, drapes, and cushions should be vacuumed with an upholstery attachment weekly. Consider rotating and beating throw pillows outside to dislodge fine dust particles.
Curtains can be dusted with a vacuum brush attachment, or removed and laundered if fabric permits.
7. Clean the Air Vents and Filters
Air circulation systems are both victims and perpetrators of dust build-up. Dirty filters recirculate dust, so clean or replace HVAC filters as recommended—usually every 1–3 months.
Wipe down intake and outflow vents with a damp cloth or vacuum them with a brush attachment. If you live in a particularly dusty area or have pets, you may need to clean vents more frequently.
8. Finish With the Floors
Once everything above has been dusted, it’s time to clean the floors. Vacuuming with a HEPA-filter vacuum is essential—it captures dust particles rather than releasing them back into the air. Don't forget corners, edges, and under furniture.
If you have hard floors, follow vacuuming with damp mopping to pick up any remaining fine dust.
Avoid dry sweeping, as it tends to lift dust into the air rather than removing it.
How Often Should You Dust?
This depends on your environment, but a general rule of thumb is:
- High-traffic areas & surfaces: Weekly
- Ceiling fans, vents, and baseboards: Biweekly to monthly
- Bookshelves and less-used rooms: Monthly
- Curtains and upholstery: Monthly to quarterly
If you have allergies, pets, or live in a dry or urban area, increase the frequency.
Safety Considerations
Dusting can stir up allergens, so always prioritize your safety:
- Wear a mask if you’re sensitive to dust or cleaning a particularly dusty area.
- Use gloves if you’re using any cleaning chemicals or have sensitive skin.
- Ensure proper ventilation when cleaning enclosed spaces.
- Use stable ladders or step stools—never overreach or balance unsafely.
Going Beyond: Preventing Dust Build-up
Here are a few ways to reduce dust accumulation in the first place:
- Use air purifiers, especially in bedrooms or areas with lots of fabrics.
- Declutter—fewer items mean fewer surfaces for dust to cling to.
- Keep windows closed on windy or pollen-heavy days.
- Implement a no-shoes-inside policy to reduce outdoor dirt.
- Groom pets regularly to reduce dander and fur.
Dusting Masterclass: Your Top Questions Answered
Should I use a feather duster or a microfiber cloth?
In the professional world, microfiber wins every time. Feather dusters (unless they are high-quality ostrich feathers) tend to just flick dust into the air where it stays for 20 minutes before settling right back down. Microfiber cloths are designed with tiny hooks that "grab" and hold the dust. If you’re interviewing a cleaner, a great question from our worksheet to ask is: "Do you bring your own products, cloths, mop, and vacuum?
Do I dust before or after I vacuum?
Always dust first. Dust follows the laws of gravity. When you dust from "High to Low," a significant amount of particles will inevitably end up on the floor. If you vacuum first, you’ll just have to do it again once the dusting is finished. Our checklist reminds you to confirm if vacuuming and mopping are included in your standard visit to ensure that "fallen" dust is actually removed.
Can I use the same cloth for the whole house?
Ideally, no. To prevent cross-contamination (like moving bathroom germs to your living room coffee table), professionals rotate cloths. If you have fragrance sensitivities or allergies, using a fresh, clean cloth in every room is vital. You can use the "Notes/answer" section of our worksheet to specify your eco-preferences regarding how cloths are laundered.
Is it safe to use a damp cloth on wood or electronics?
For wood, a very slightly damp (not wet) microfiber cloth is usually the safest way to remove "crusted" dust without using heavy polishes. However, for electronics, you should stay dry or use specialized anti-static wipes. This is why we recommend asking potential cleaners: "How do you handle delicate surfaces such as stone, wood, or speciality finishes?"
How do I know if my professional cleaner is actually dusting "The Correct Way"?
The proof is in the hidden spots. Check the "vertical surfaces" like the sides of cabinets or the tops of picture frames. If those are clean, your pro is following the ScrubBunnies Standard. You can use the "First-visit priorities" section of our checklist to tell your cleaner to focus on these often-missed areas during their first deep clean.
Dusting as a Preventative Act
Dusting isn’t just about aesthetics—it’s about health, hygiene, and longevity of your belongings. When done correctly, it becomes a powerful preventative act. With proper tools, consistent routine, and safe techniques, you can drastically reduce dust in your space and breathe a little easier.
Remember, dusting isn’t a chore to be rushed. It’s a discipline, and when you treat it with that level of care, the results speak for themselves.
About the Author: I’m a seasoned cleaning specialist with over 40 years of experience in professional home and office maintenance. From luxury estates to urban apartments, I’ve helped hundreds of clients achieve dust-free environments safely and efficiently.
If you’ve got questions about dusting specific items or want to level up your entire cleaning routine, don’t hesitate to reach out.
Share Post
0 Comments